Welcome to the first installment of our comprehensive guide, “How to Build an Affiliate Marketing Blog with WordPress for Beginners.” In this series, we’ll walk you through the essential steps to create a successful affiliate marketing blog from scratch using WordPress. Whether you’re a complete beginner or looking to refine your skills, this guide is designed to provide you with clear, actionable instructions to get your blog up and running.
In Part 1, we will cover the foundational steps: purchasing a domain and hosting from Namecheap, installing WordPress from cPanel, and setting up the Blocksy theme to create a visually appealing and functional website. By the end of this tutorial, you’ll have your blog’s basic structure in place, ready for customization and content creation in the upcoming parts of the series.
Purchasing Your Domain and Web Hosting
This is where a lot of people mess up. I offer affiliate marketing blog creation services on Fiverr and get a lot of folks who buy overpriced hosting plans. Web hosting companies are smart, and they know if they make a hosting plan just for WordPress they can trick you into buying it and paying a little more.
Often, these dedicated WP hosting plans offer fewer features and restrict you to more limitations. In the video above, we recommend using NameCheap. Why? Because they have the most affordable “shared hosting” plan – and they offer outstanding customer support!
So go ahead and sign up for a NameCheap Stellar Shared Hosting plan – the cheapest one is all you need. A domain is included. SSL is included. Everything you need to start an affiliate marketing blog is included!
Installing WordPress
After you activate your new NameCheap account and purchase the shared hosting plan with a domain – you can log in and install WordPress. From the members area, you can view your hosting plans. Look for your newly purchased hosting plan and select “Go to cPanel.
Once you’re in the cPanel, you will find a direct link to the WordPress installation area. Look for the WP icon. You can also go to Softaculous to install it.
Once you’re in the install area, you can select your domain, change the default website title, and click the blue “Install” button at the bottom of the screen.
After WP installs, you will be given a link to the admin dashboard – click it to continue to the next step. The default WordPress admin area is always going to be your-domain.com/wp-admin.
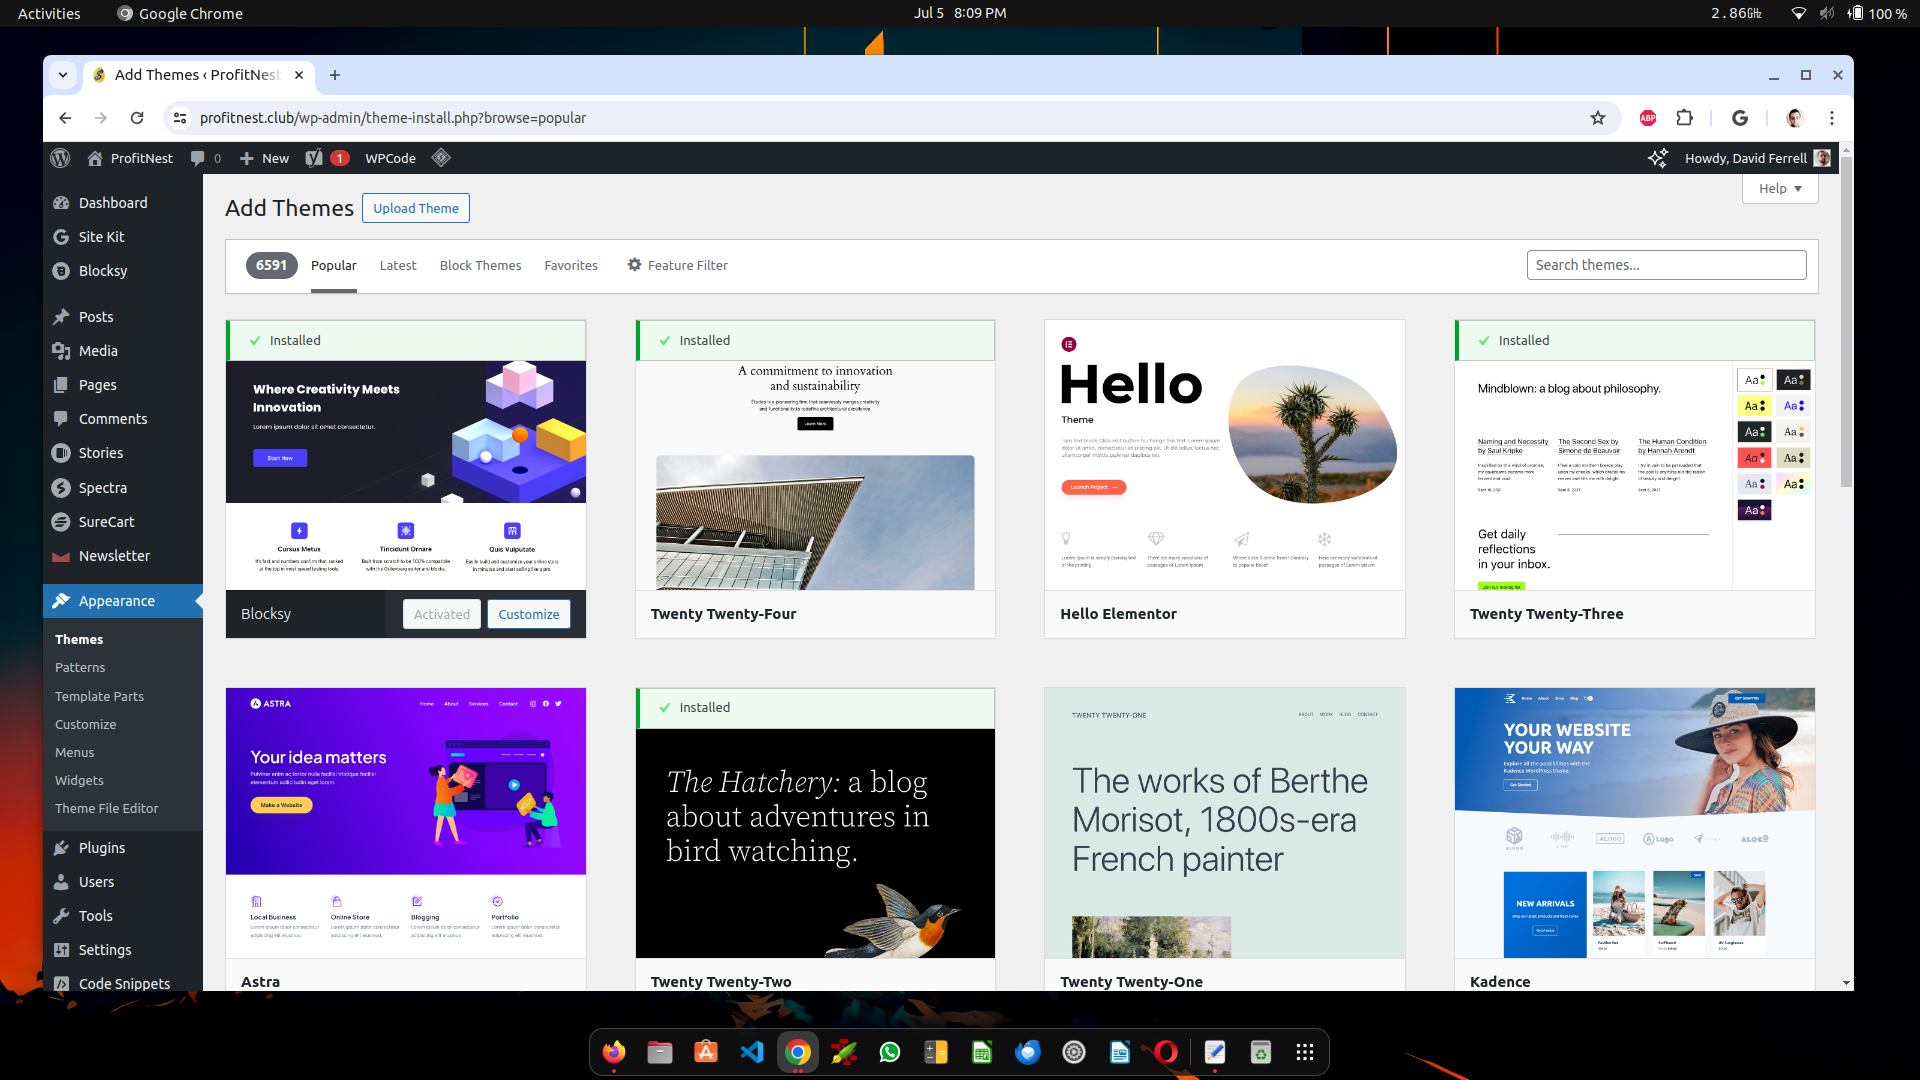
Installing Blocksy
From the WordPress Dashboard area, hover over “Appearance” in the left menu and click on “Themes”. At the top, you will see a button that says “Add New Theme” – click on it to search for Blocksy.
Simply click Install, let it load, and then click Activate to start using the highly customizable Blocksy theme. It’s that easy!
Once you activate the Blocksy theme, you will get a notification bar at the top of the page that asks you to install the Blocksy Companion plugin. Install it to get the most out of your new theme.
Why Blocksy?
Blocksy is a great framework, as it allows you to modify just about everything to do with your website. It works great with the default WordPress Gutenberg block page builder and it loads fast.
You can also use Elementor with Blocksy, but we prefer to use Gutenberg blocks. Elementor is awesome, but websites built using it are often slow! I’ve been hired to speed up dozens of sites that loaded extremely slowly due to Elementor and other related plugins.
Regardless, Blocksy works great with all page builders. It’s highly customizable, and you can modify everything from the colors to the header, footer, blog post layout, blog category layout, etc. Everything can be modified with ease. Other themes do not allow these customizations unless you pay for their premium version. We’re going to stick with the free Blocksy theme in this guide, as it’s all you need.
What To Do From Here
Part 2 will be live shortly. Until then, you can start getting familiar with the WordPress dashboard. The next step is to install essential plugins. For now, go ahead and plan out your new blog. How do you want to organize your blog posts? Do you have post categories in mind? Feel free to use an AI tool like ChatGPT or Perplexity.AI to help you with ideas!